
Baseline Digitial used to have plans for US-style apple boxes. Australian sets use nesting apple boxes.
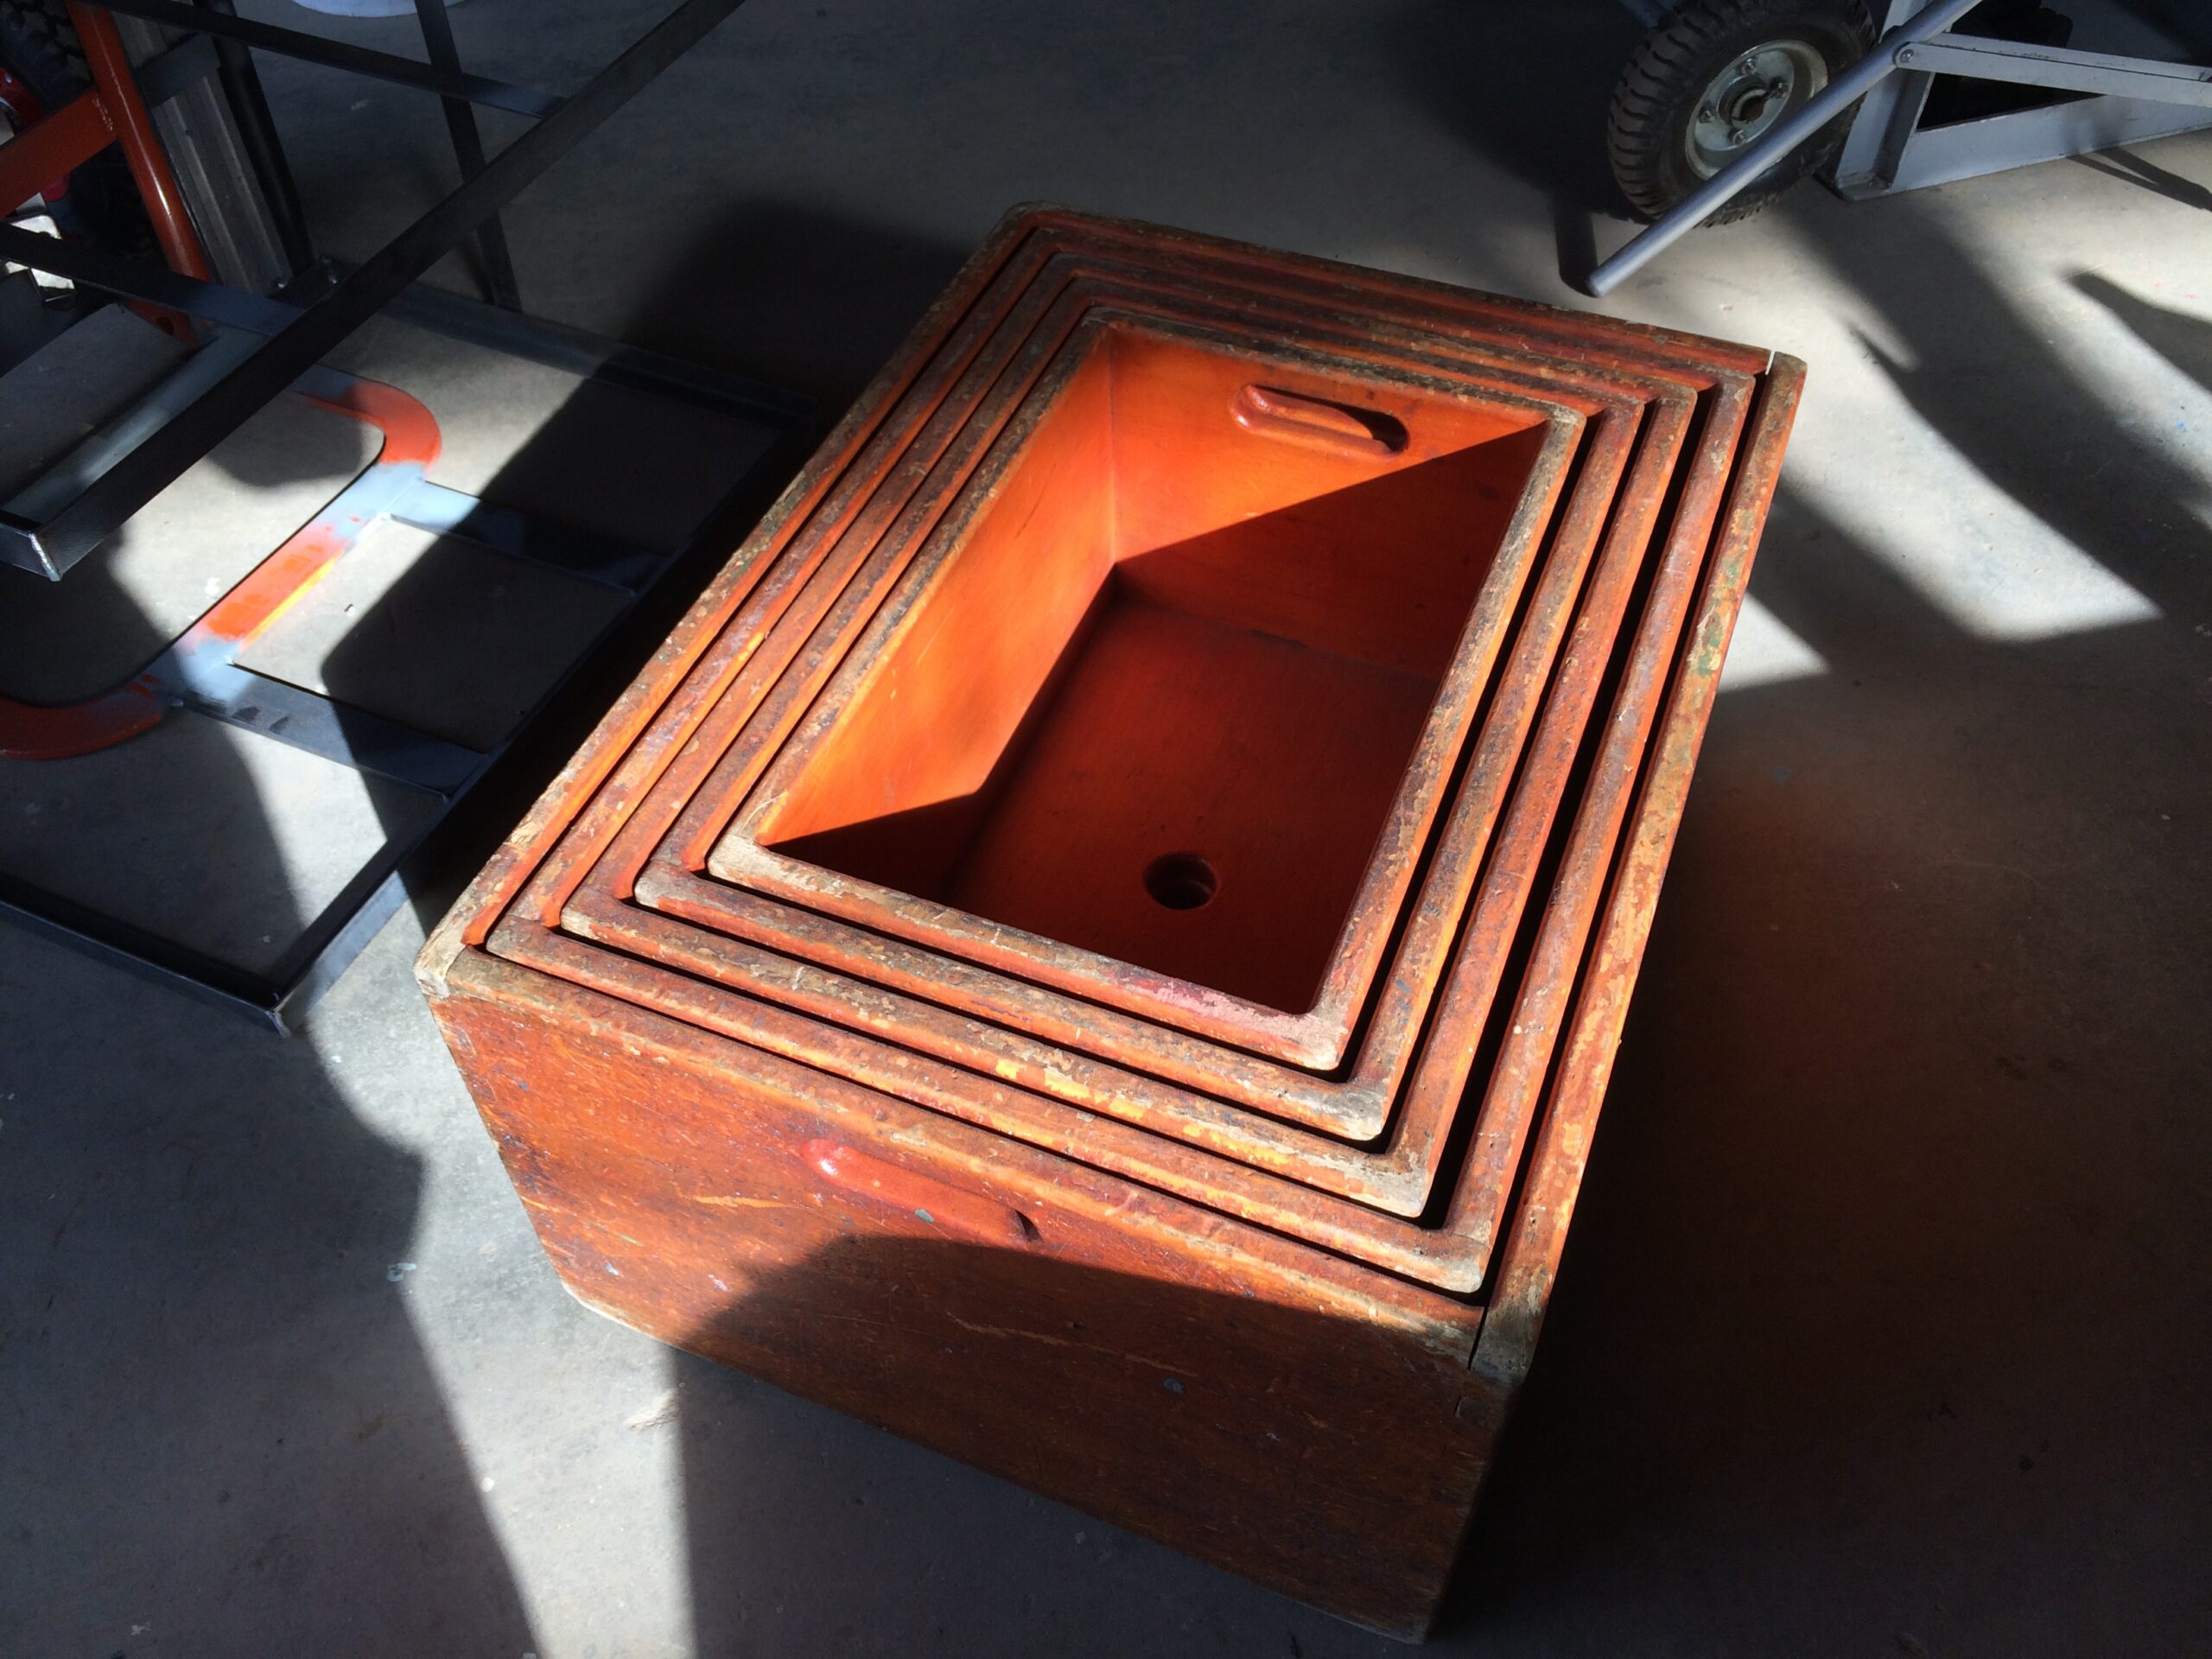
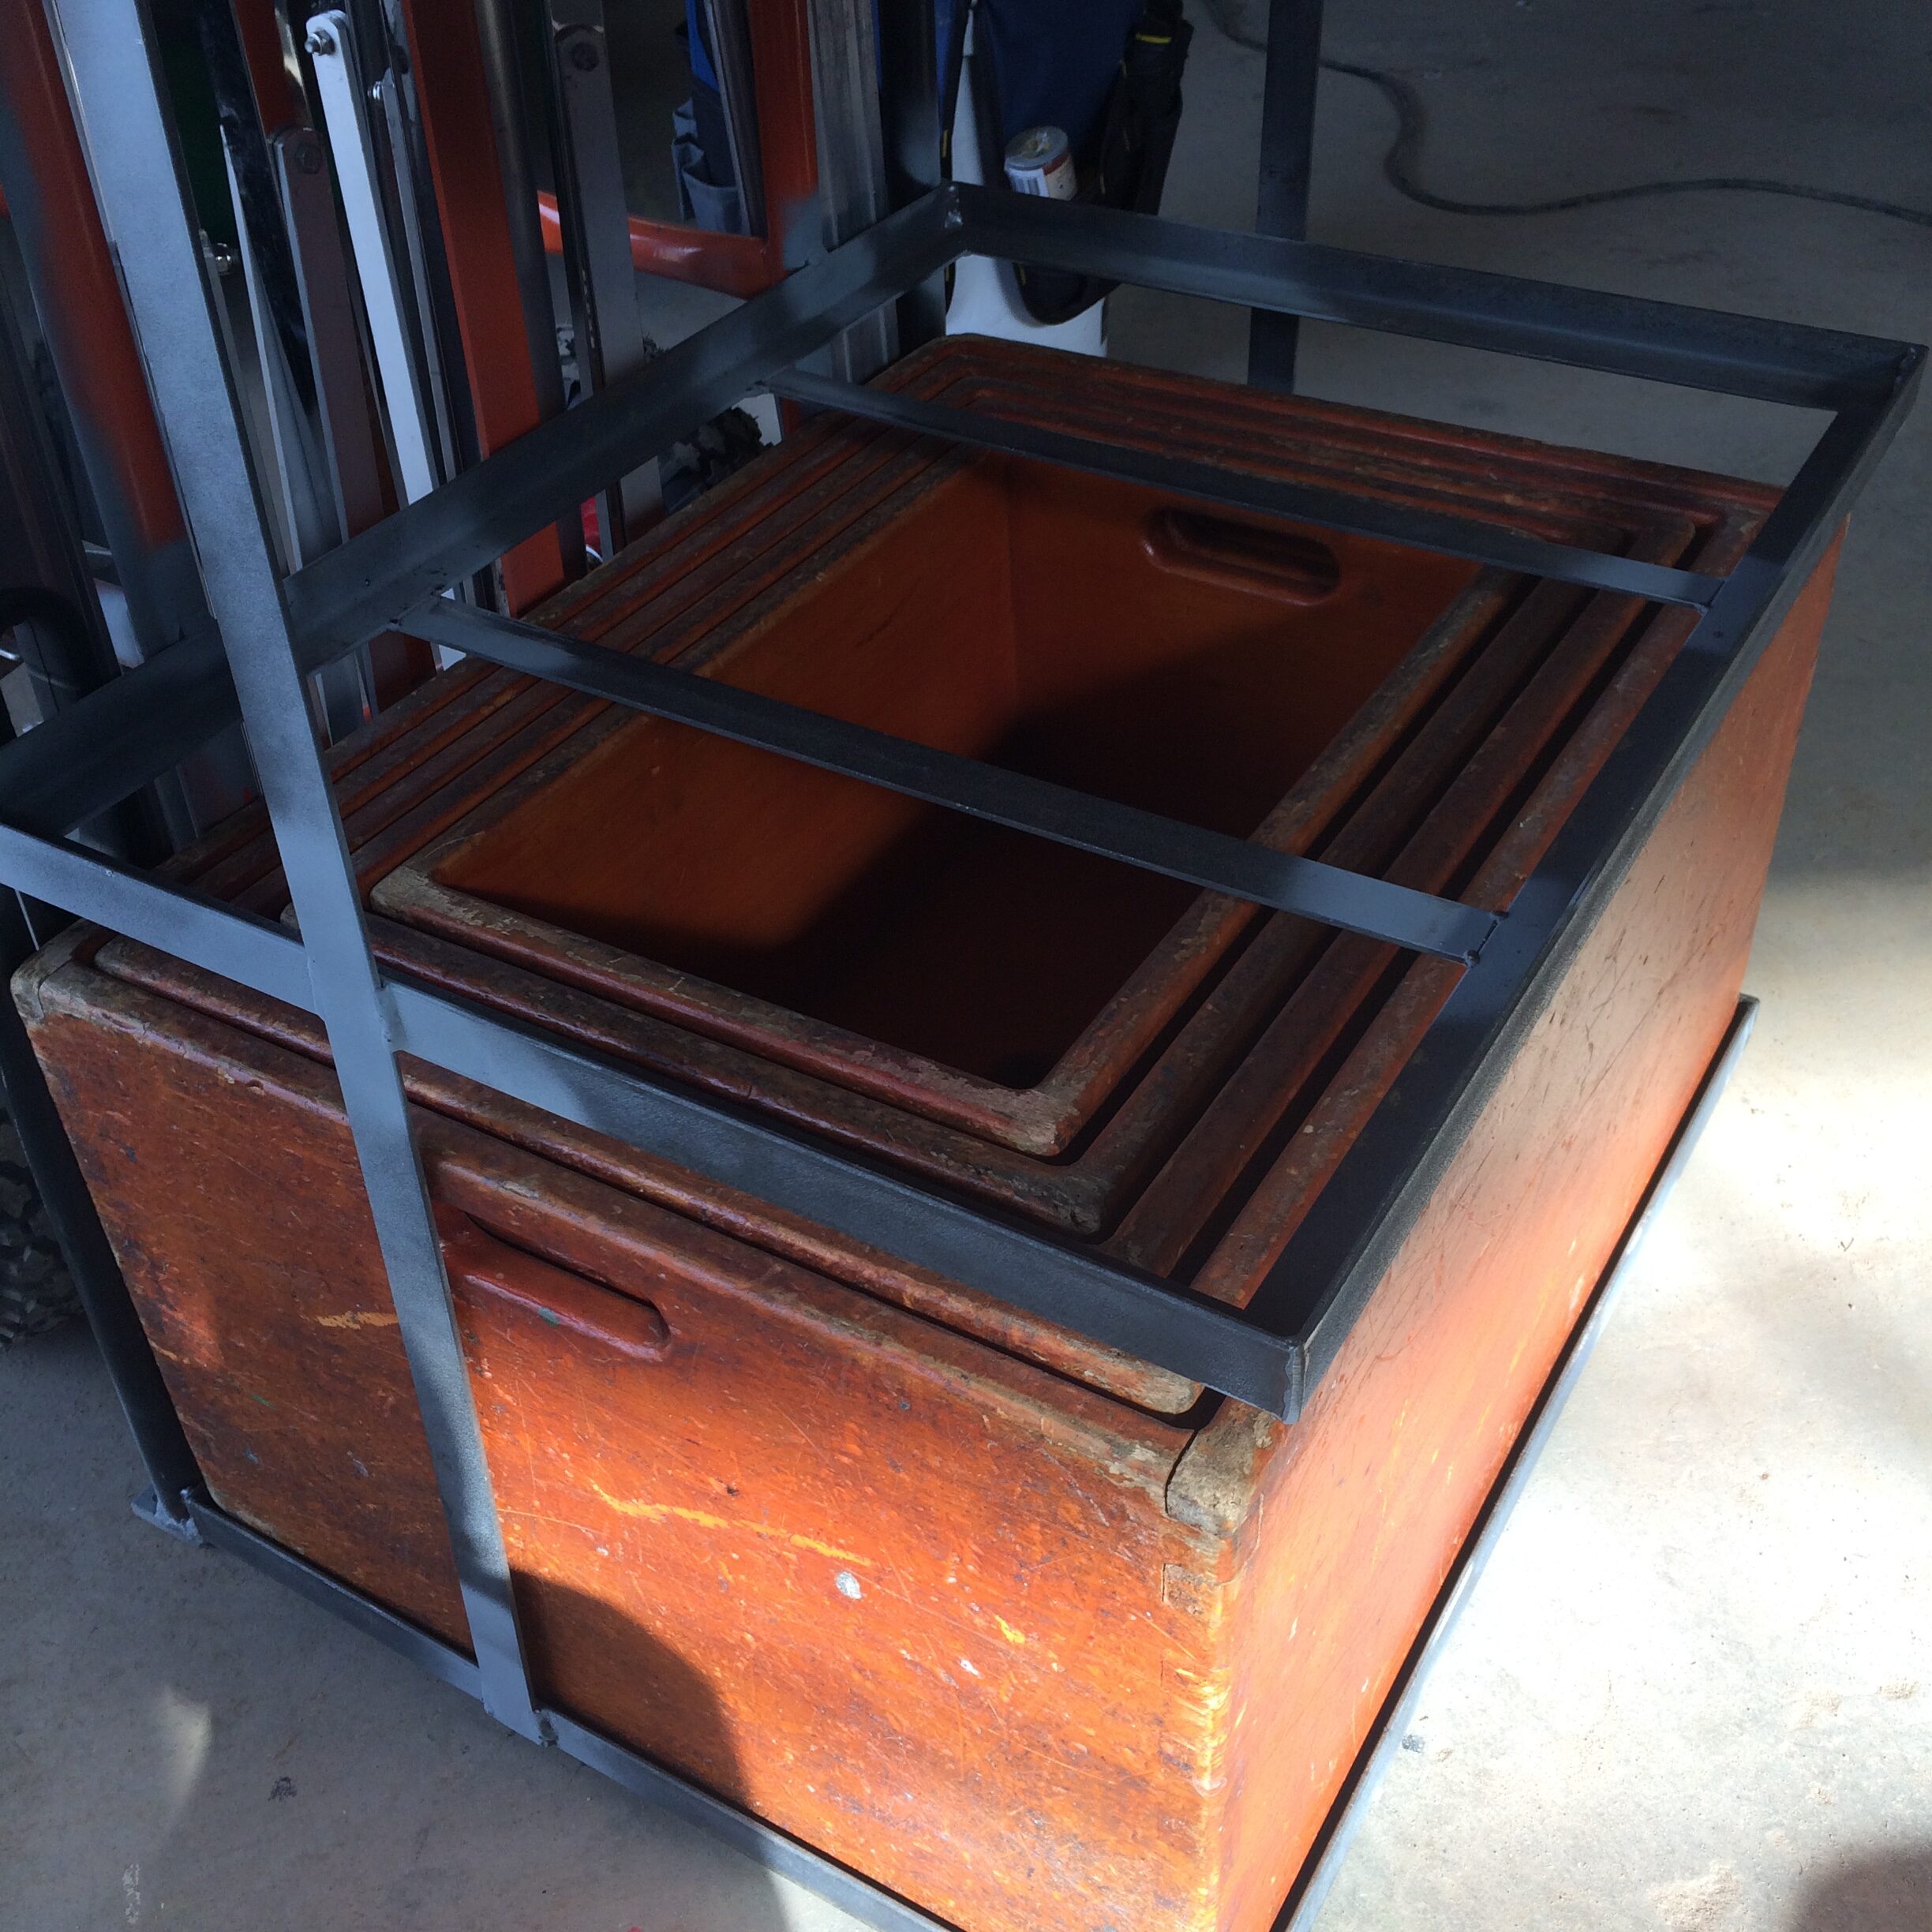
I built a set of these back in the day. I now prefer the nesting apple boxes. I can carry two full Australian applebox sets in the space required for a single US applebox set. Here’s what the Aussie appleboxes look like nested.
Anyway, Baseline Digital’s website is no more, so I’ve got an archive of the page reproduced here. Orginally posted Sep 2, 2008 at www.basslinedigital.com/tutorials/diy-appleboxes/
Webb and Sharon Pickersgill owned Bassline Digital, LLC in Pheonix Arizona. They graciously shared these designs at the time. If anybody knows them or has an update please comment below.
The figures referenced below are also in the PDF. Remember the prices are from 14 years ago.
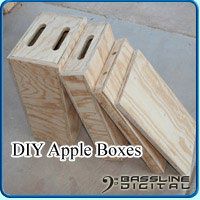
DIY Appleboxes
Posted on Sep 2, 2008
(Thanks to Emerson S. for compiling the PDF Instructions!)
These simple little boxes are a necessity for any studio, location or set. Incredibly handy for propping, sitting, elevating equipment, leveling, and a ton of other things. These things are the Ginsu Knives of the production world! They come in 4 standard sizes:
- Length and Width are always 20″x12″ respectively.
- Full = 8″ tall
- Half = 4″ tall
- Quarter = 2″ tall
- Eighth (aka Pancake) = 1″ tall
Safety First
Please be sure to wear eye and hearing protection. Use common sense! If you are not comfortable with any part of the tutorial, please ask someone who knows what they are doing to help you.
The Materials
The material list for these things is incredibly simple:
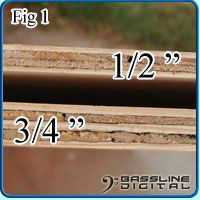
- 4′x4′ 3/4″ Plywood (For sides and support) ~ $25
- 4′x4′ 1/2″ Plywood (For tops and bottoms) ~ $20
- 5/16″ wood dowels (Or screws if you choose) ~ $8
- Wood Glue ~ $2
The Cutting List
I needed 2 extra pancakes which will be cut from the 3/4″ wood and will be slightly thicker than standard pancakes. So this layout makes the most use out of the wood for my purposes. You may choose to alter the cuts to better use the wood for your project. Click the thumbnails to download the cuts to be made on the 4′x4′ wood.
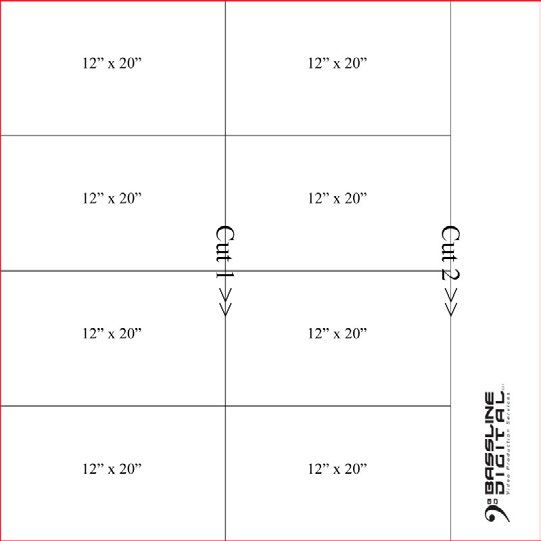
Cuts on the 1/2″ 4′x4′ Piece
- Measure in 20″ from one side and scribe across the entire piece. Make Cut #1.
- Measuring from the cut edge, measure in another 20″ and scribe across the entire piece again. Make Cut #2.
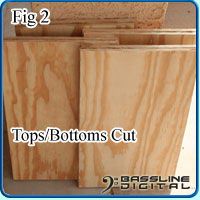
- Now, adjusting for 12″ pieces** cut these 48″x20″ strips into 8 12″x20″. (Fig 2) These are the tops/bottoms of your boxes.
** You have a choice on how to cut these. Since the board is slightly shorter than 48″, and the cuts you make actually take away wood, your pieces will be slightly shorter than 12″ each. You can adjust for this anyway you like. Either make each piece 11 15/16″, or perhaps make all pieces 12″ and your pancakes 11 3/4″, your choice.
Cuts on the 3/4″ 4′x4′ Piece
- Just like we did on the 1/2″ piece, measure in 20″ from one side and scribe across the entire piece. Make Cut #1. These will become your extra Pancakes, if you want them.
- On the remaining piece, measure down 20″ and scribe across. Make Cut #2. This will become the sides.
- On the remaining piece, measure down 10 1/2″ and scribe across. Make Cut #3. This will become the front/back/support for the full box.
- Measure down another 10 1/2″ and scribe across. Make Cut #4. This will become the front/back/support for the half and quarter boxes.
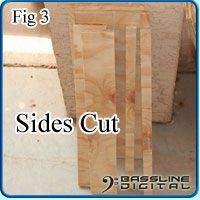
- Go back to your “sides” piece and begin cutting your 2 1″ strip from it. Then cut your 3″ strips, then finally your 7″ strips. You should now have your sides done (Fig 3)
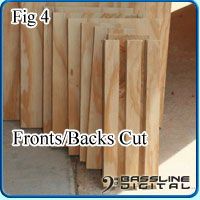
- Now go back to your “front/back” pieces, and cut those pieces out as well. You should now have your fronts, backs, and supports done. (Fig 4)
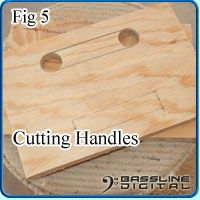
Cutting Handles (Full and Half Apple Boxes)
- For the full apple box, measure in 1 1/2″ from top and bottom, then 3″ in from each side.
- The intersection of these measurements will create 4 marks.
- Drill a 1″ hole at each of those 4 marks. (Fig 5)
- Using a reciprocating saw, cut between the 2 holes to form handle openings.
- For the half apple box, you’ll only need one opening. You’ll still measure 1 1/2″ (Exactly half of the 3″ height), and 3″ on each side.
- For the quarter apple box, use a 3/4″ drill bit and drill the holes after the boxes are assembled for more stability.
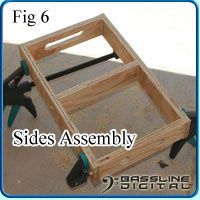
Assembly Of Sides and Supports
- Take all of your cut pieces and dry-fit them together to be sure everything is the right size.
- Clamp them together dry, and drill 5/16″ holes for your dowels. (Fig 6)
- (Yeah yeah, when I took this picture my saw blade had broken so I hadn’t finished cutting the second handle and I was to excited to wait.. so I glued it together and sawed the hole later.
- Dry-fit all your dowels to be sure they all line up correctly.
- Glue all dowels and all wood-to-wood surfaces. Clamp in place and allow to dry for at least one hour. (See drying times on your choice of wood glue)
- Repeat this for your Full, Half and Quarter Apple Boxes.
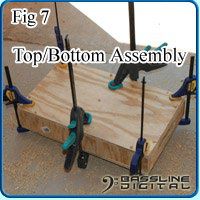
Assembly of Tops/Bottoms
- Put the tops and bottoms on your boxes and dry-clamp them in place.
- Drill 5/16″ holes around the perimeter of the top for your dowels, dry-fitting your dowels as you go.
- Drill one hole into the center of the top that will go into the center support.
- I put a total of 11 dowels in the top. 2 on the front and back, 3 along each side, and one in the middle.
- Repeat for the bottom.
- Once everything is drilled and dry fit together, start glueing everything!
- When you’re done, clamp everthing tight and let it dry. (Fig 7)
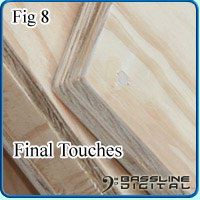
Final Touches
- Saw off and/or sand down the dowels so that they are flush with the surface.
- Sand the hard edges so that they have a nice smooth semi-rounded edge to them.
- Take a sander to all of your completed boxes to get a nice spliter-less finish to them. (Fig 8)
- Optionally, you can use a 1/4″ round router bit to round out the inside of the handles.
- Optionally, you can prime and paint your boxes to give them a nice non-glare matte black finish.
All DONE!
That’s it. I hope you enjoyed this quick tutorial. If you have any comments or questions, please feel free to Contact Us.
HI, Do you have the sizes of the Aussie apple boxes by chance?
I don’t have a set of the nesting apple boxes. They all seem to be custom made, and many grips I’ve spoken to complain about the cost of replacements quoted by “woodworkers”. But time costs money. Make them yourself or pay someone to make them.
They are probably from ABC/Crawfords/Fox kits from the 80s–90s.
Note: I have NEVER seen dolly track mounted on apple boxes in a Sydney production. That doesn’t mean it doesn’t happen, just that it’s rarer than you think.
Dolly track is the only reason I can think of for absolutely uniform dimensions. But your ground isn’t flat so that would need shimming anyway. Using them as a man maker involves keeping track of which one is being used.
If you want to go in 1″ progressions from 1-28″ inches, get/make a set of standard apple boxes.
If you DIY the Australian nested apple boxes, call a grip in your city and ask what are the sizes of their nested boxes.
Alternatively,
FULL APPLE – external
Assuming you’re using 17mm or 18mm ply for the sides & top of the box, each will be at least 34-36mm smaller along L & W dimension as you nest. You probably want 50mm size difference on those dimensions between each box.
You could consider making a clone of either of these if you want them to match other peoples apple boxes
If you want your boxes to match standard apple boxes, use the instructions above. But they take up space in your studio/car/van/truck.
It makes sense to have nesting for location shoots and leave the standard apple boxes for the studio.